Batch Replace Multiple Smartobjects in Photoshop
By Usama Saad · Updated Aug 28, 2026
Automate front, back, label, packaging, and multi-frame PSD templates with ordered artwork or explicit CSV mappings.
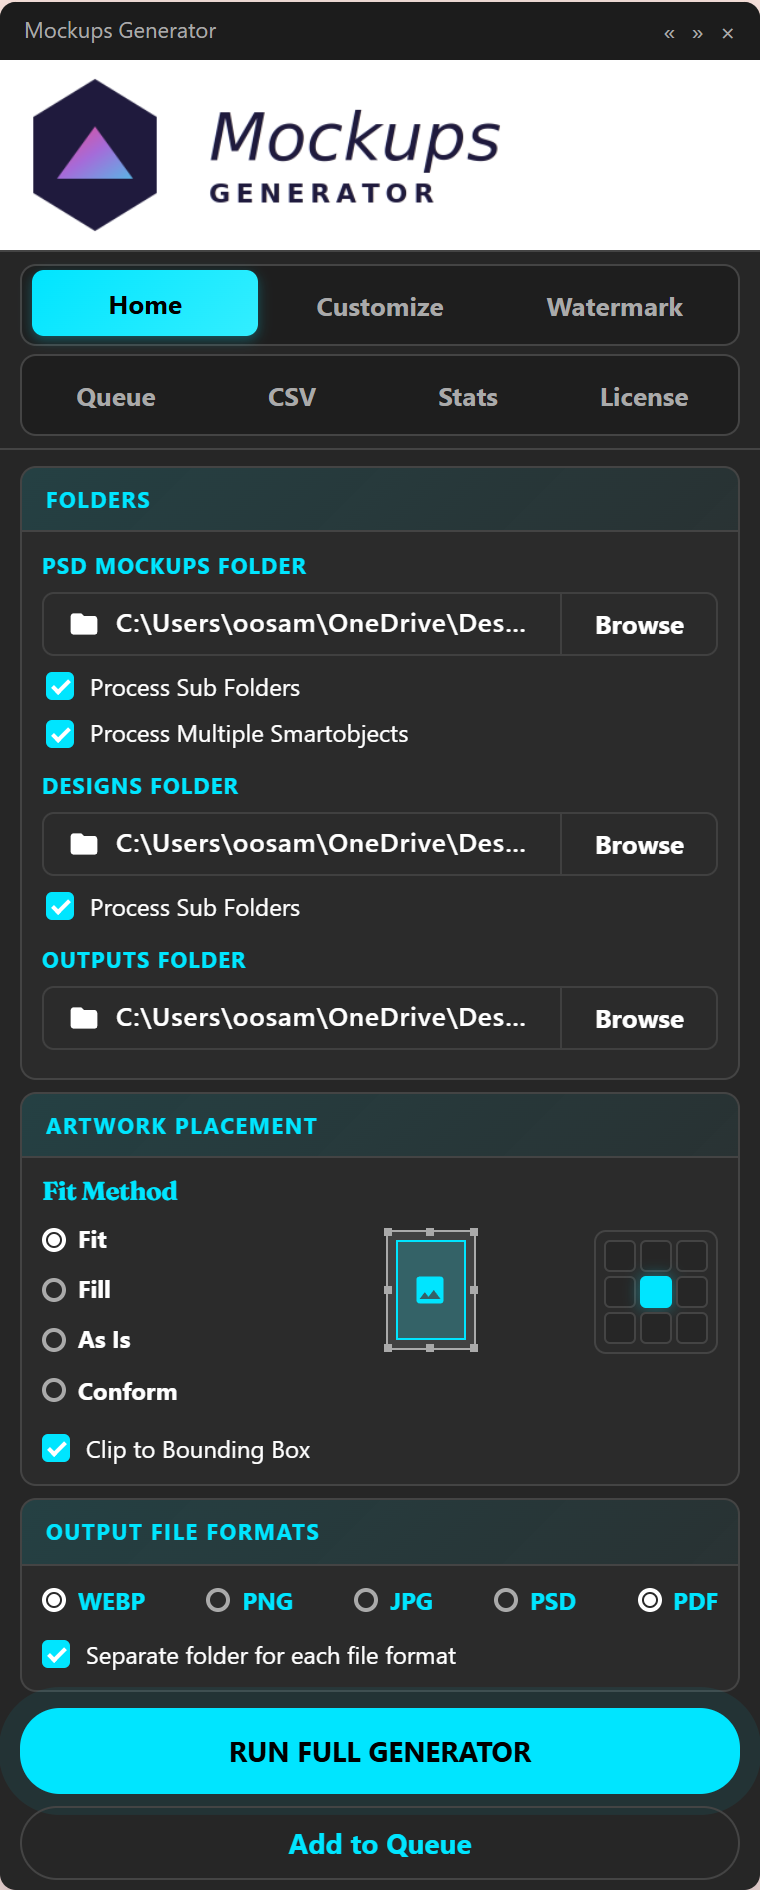
A PSD with multiple independent smartobjects needs a clear rule for assigning artwork to each target. Front-and-back apparel, multi-frame wall art, packaging, and product bundles are common examples.
Check whether smartobjects are linked
Open one smartobject, make a temporary visible change, save it, and inspect the other targets. If they all update, they are linked and may intentionally show the same content. If only one updates, the targets are independent and can receive different artwork.
Undo the test and save a clean template before continuing.
Option 1: assign consecutive artwork by layer order
Multiple-smartobject mode can use the PSD stacking order and consecutive design files. This is efficient when every template has the same target count and the artwork folder follows the same order.
For example, an apparel template may expect:
- Front artwork
- Back artwork
- Sleeve artwork
Keep filenames sortable and keep target order consistent across the PSD collection. Run one complete artwork set before adding more files.
Option 2: map named targets from CSV
CSV mapping is safer when each target needs an explicit value. Use headers such as template, front_art, back_art, and sleeve_art, then match those headers to smartobject layer names.
Each row becomes one output. This model handles products where a front design, back design, shirt color, SKU, and text label must stay together.
Handle different target counts
Do not assume every PSD has the same structure. A shirt file may have two slots while a packaging file has three. Group compatible templates into separate jobs or validate every template before the run.
Check how the panel reports missing artwork, extra artwork, and unmatched layers. Correct those conditions instead of allowing a previous design to remain in an unintended slot.
Placement and cropping
Each target can have a different aspect ratio. Prepare smartobject canvases and guides carefully. Fit keeps all artwork visible, while fill can crop. A front print area and a sleeve print area usually require different source proportions even when the same placement method is selected.
Review the completed set
Inspect each target in the sample output, not only the first one. Confirm design order, orientation, scaling, masks, color, and filename. Keep the test outputs separate from the production folder.
See the multiple-smartobject production workflow and learn about front-and-back shirt mockups.
Continue with Photoshop mockup automation
Browse all Photoshop tutorials, explore the Photoshop bulk mockup generator, or try 150 lifetime generations free.